Thinband Installation Procedures
As with any installation utilizing electrical connectivity – use utmost precaution when handling product components to prevent electric shock and subsequent injuries.
Read complete instructions before beginning installation:
Thinband Installation Proceedures:
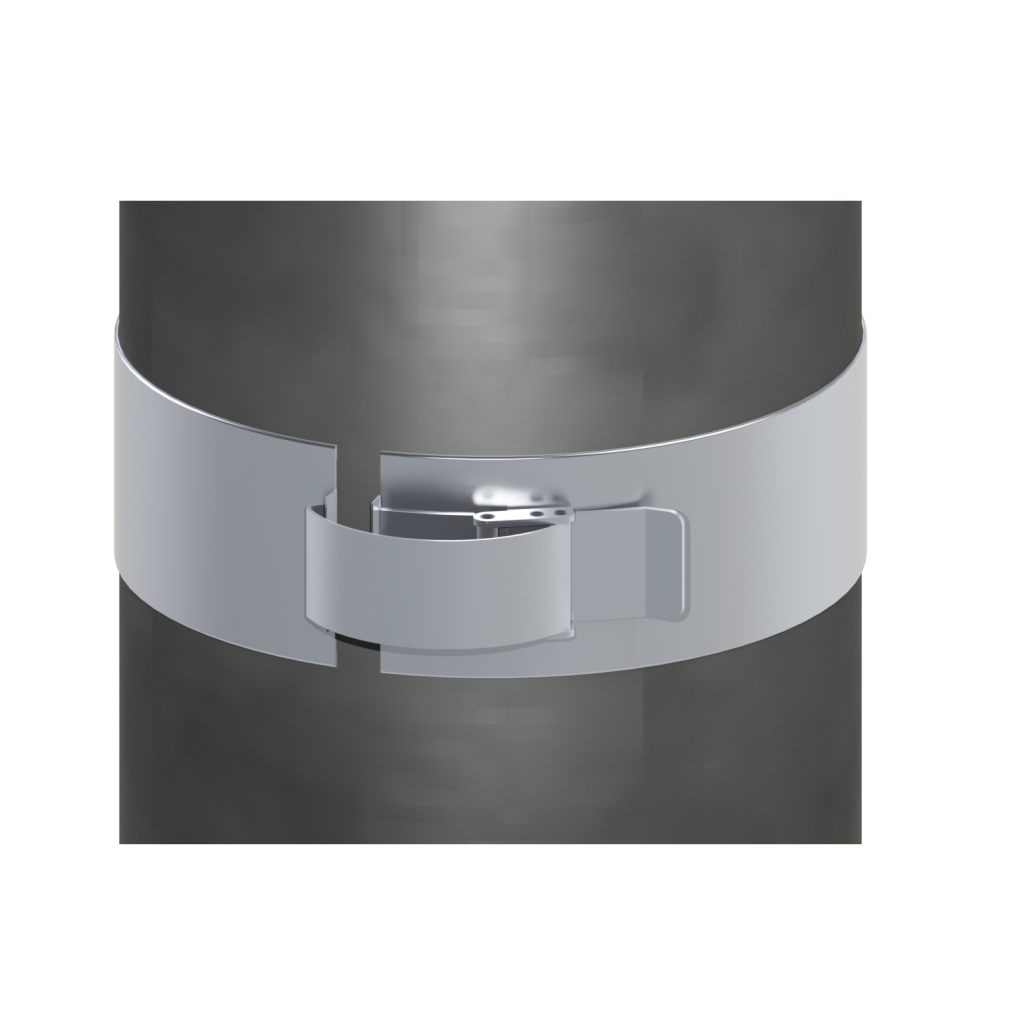
1. Install heaters over a clean surface.
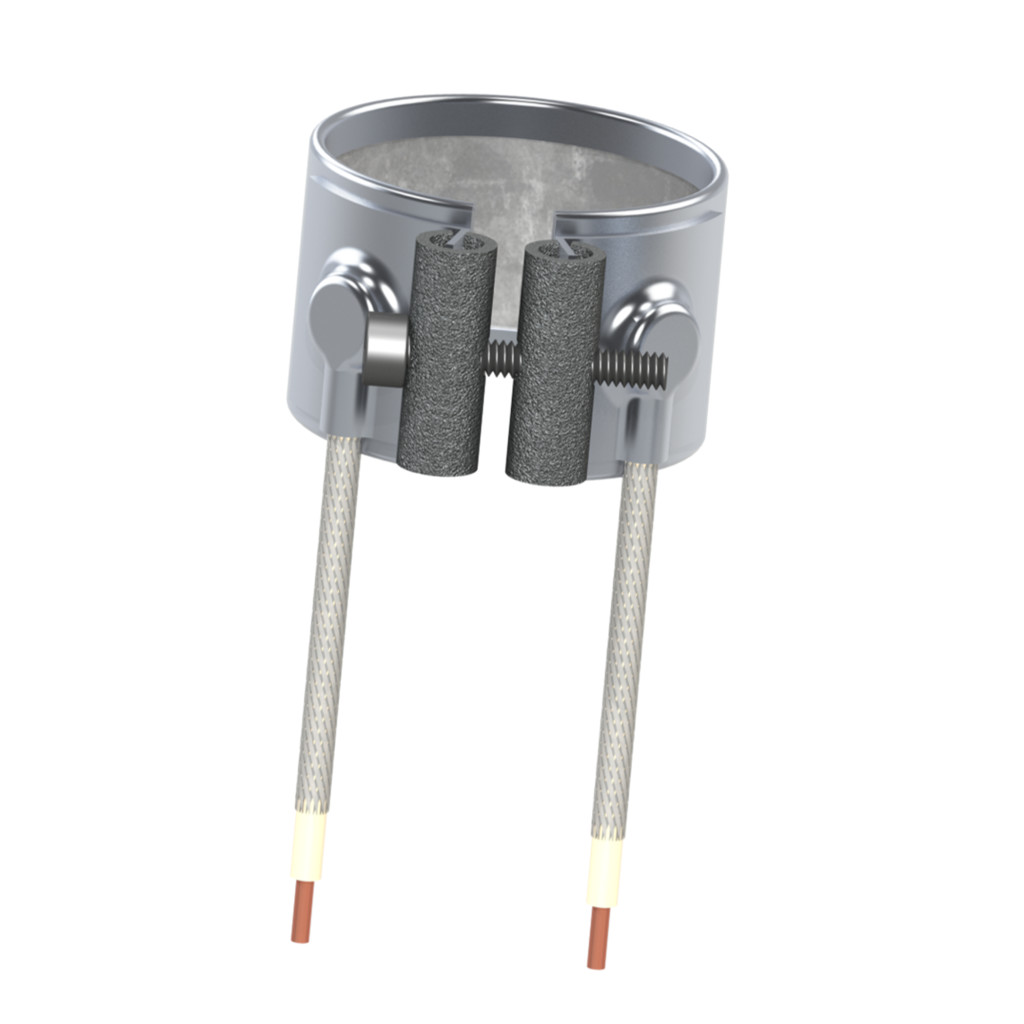
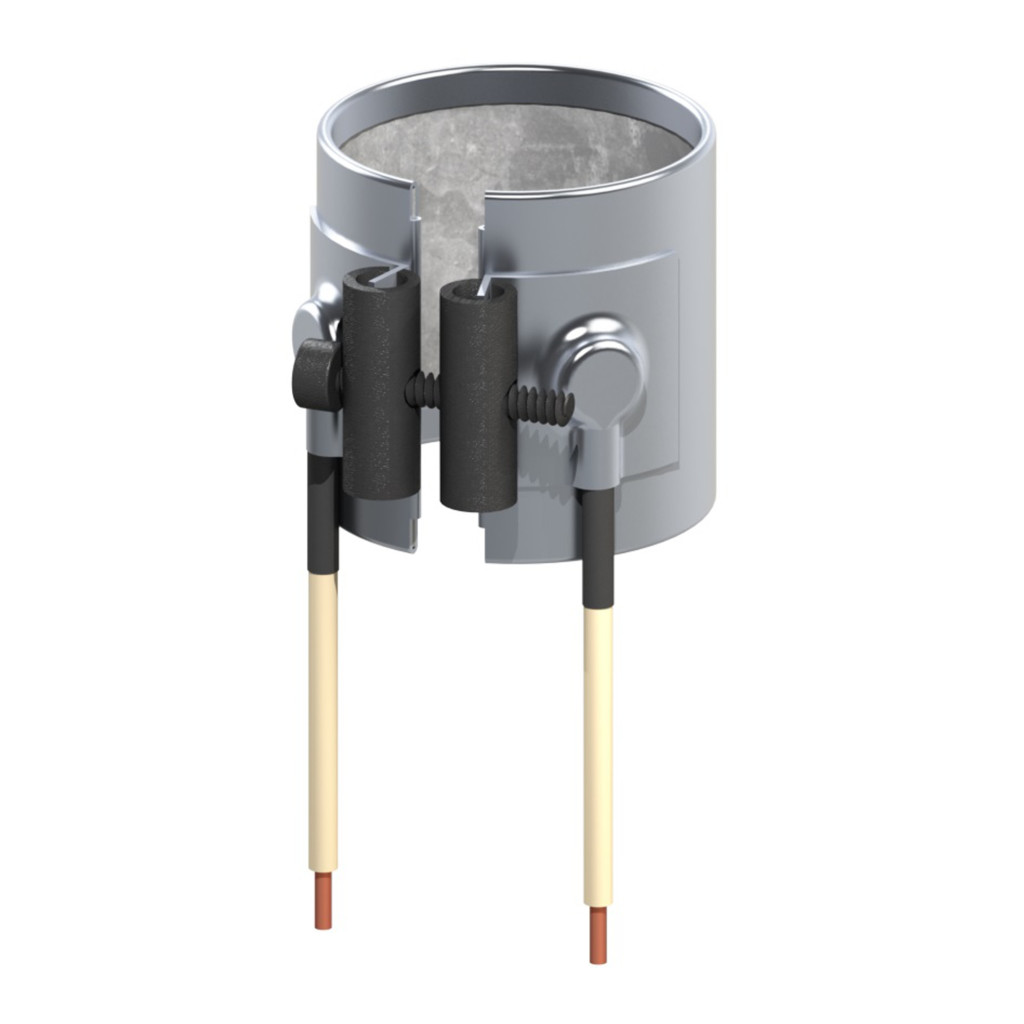
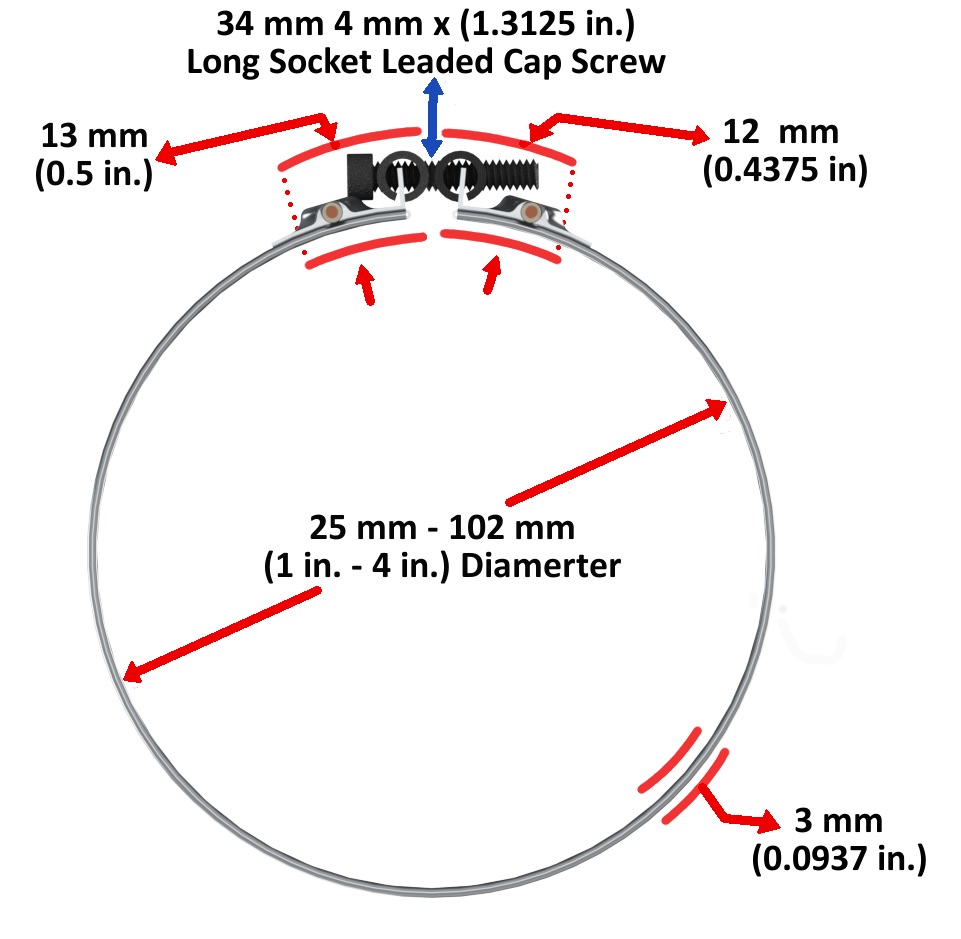
2. After installing the band heater unit, begin to tighten the clamp screw. The clamping screw is a 5 mm x 1.25 inch, allen head cap screw. Begin tightening the clamp bars. If the clamp bars appear not to have seated, tap the clamp bars with a small hammer to insure the bars are well seated in the angle formed by the 60 degree bent tab and the heater.
3. If the bar has multiple screws, alternately tighten the screws to insure even loading – as you should tighten lug nuts in a star shaped pattern to secure a wheel on a car.
4. Torque all screws to approximately (9 N-M) 8 Ib-in.
5. Take a soft rubber mallet and tap gently around the circumference of the heater while tightening the screws. This will ensure the heater’s fit to the barrel is maximized without any air gaps.
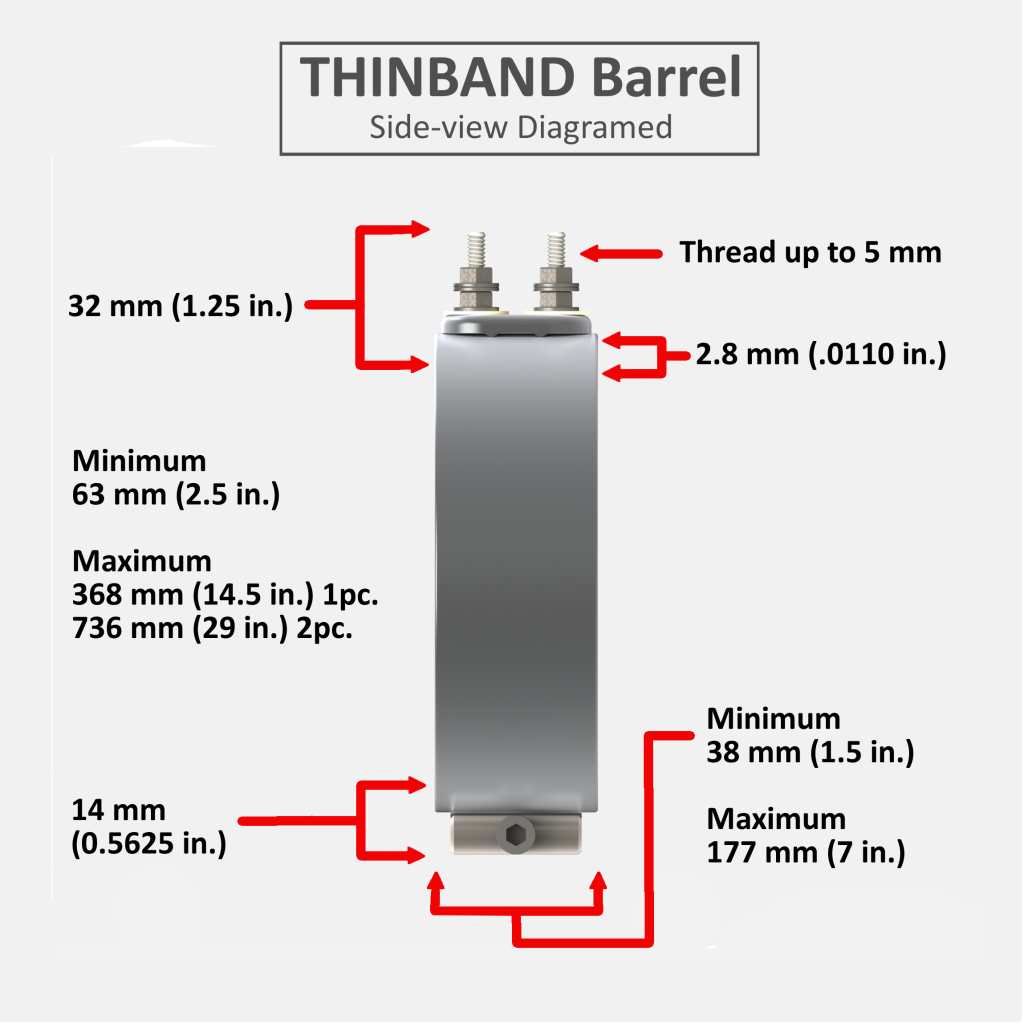
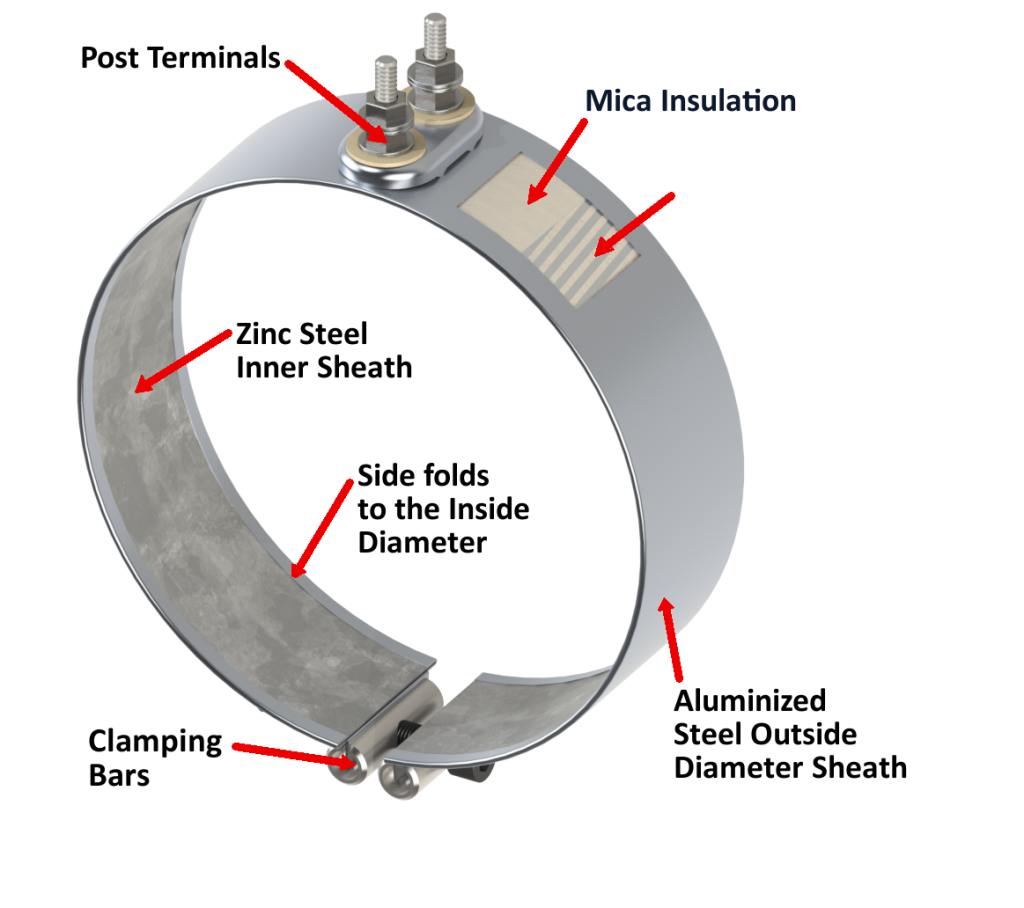
6. When installing terminal lugs, torque the top nuts to 30 in-lbs. The bottom nut should not be touched as it is factory torqued to 45 in-lbs. at assembly.
7. Re-tighten the heater after the heater has operated for a short time. Always make adjustments when the heater and cylinder are cold. Heat and Sensor Technology


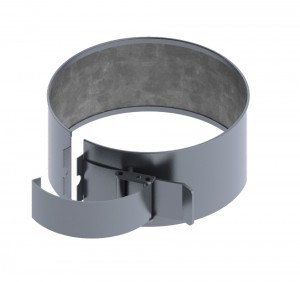
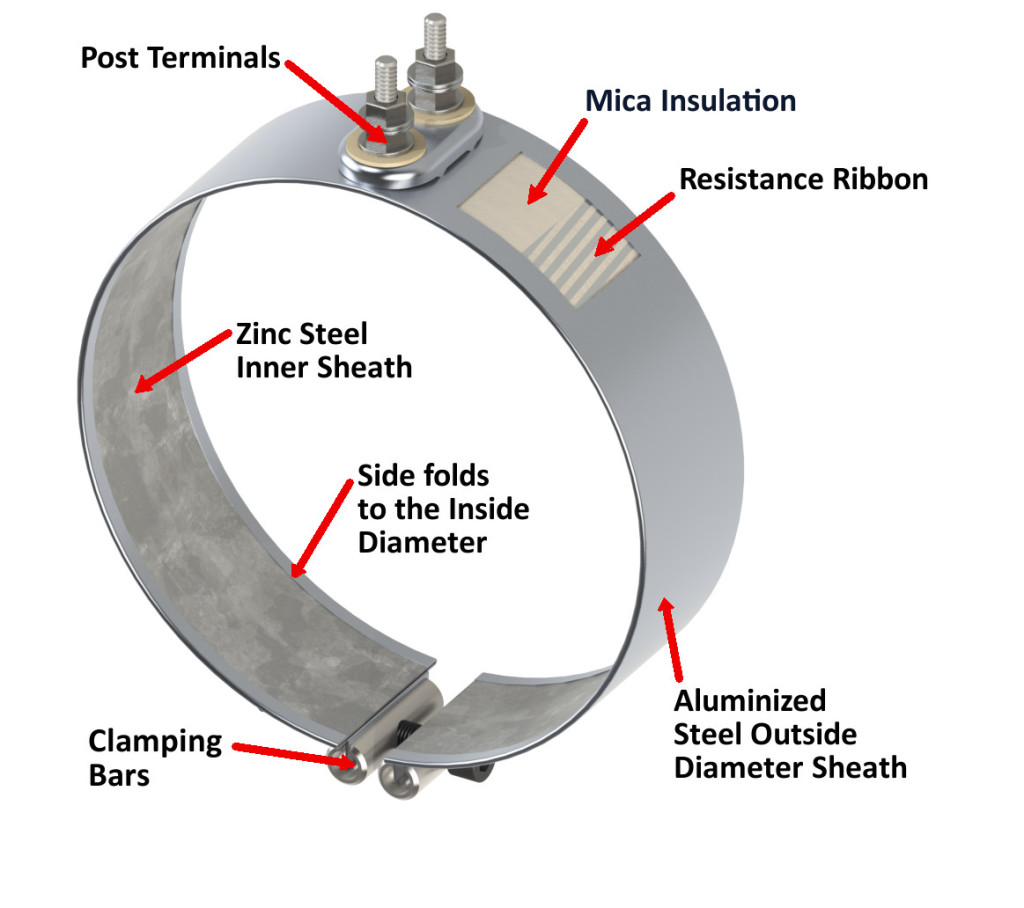 Thinbands can be installed directly onto barrel heaters – without needing to remove the initially installed heater. Thinbands have a more precise one-piece design with narrow fold-over inner edges. Thinbands only require one set of leads or terminals which are applied at the end of the construction process. At Heat and Sensor Technology, it is our standard practice – to assemble each Thinband we manufacture with a polished and pristine finish. For the fastest installation… Consider requesting the